how to animate
Most people know that animation is the most powerful tool of communication because you can share ideas in a very entertaining way.
And in here I will teach you how to:
Design a
Character
Create a
Background
Animate your
Character
Cool right? Let’s get this thing started then :D
Contents
Introduction STEP 0: Pick your software STEP 1: Design a character step 2: create a background step 3: animate your character STEP 4: Evaluation and feedback STEP 5: Improve STEP 6: Repeat 4 and 5Introduction
Why the heck should you check this specific tutorial when there are tons of webpages that teach you how to animate, right? Well, easy because:
Usually, “step-by-step” instructions suck...
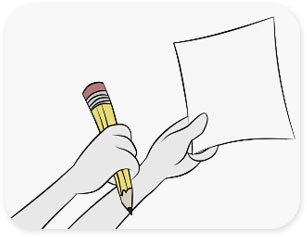
STEP 1
Get pencil
and paper
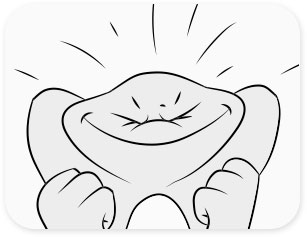
STEP 2
Think really
hard
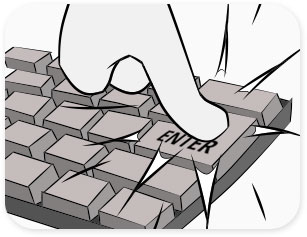
STEP 3
Press
Enter
RESULTS!!
Sounds familiar?
When I started learning animation by myself I got pissed off to see so many lame tutorials that don’t actually teach you anything.
Until I finally found my first online mentor in animation, Moor Meroz from Bloopanimation.
Even though I wanted to learn 2D and he mainly focused on 3D, I still learned tons.
If you are a beginner, I suggest checking both, his book Animation for Beginners, and his website Bloopanimation.
After learning from his book recommendations and investing in online training all over the web, I came up with a way to animate anything you want, and I will teach you how.
In this guide you will learn how to use
the
Animankenstein
Formula
With the Animankenstein Formula you can create any animation you want with any kind of character you want, and draw any background you want.
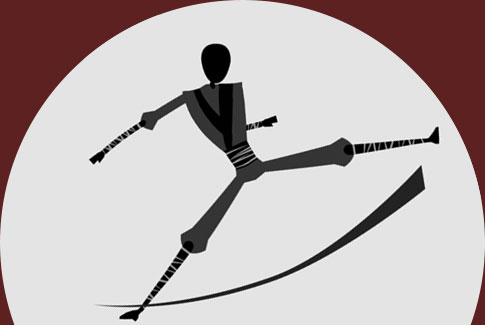
This is how I created the Ninja animation doing some cool kicks.
PART 1OVERALL PROCESS
First, I will cover the overall process for those of you with some experience, and then...

PART 2DETAILED PROCESS
In the second part of this guide, I will go in depth on each step to help you further.
This will be especially useful if you are a beginner ;D

PICK A SOFTWARE
Yes. this is step 0, kind of obvious but it’s important enough to mention it.
Before even starting you need to know what software you will be using.
Animation Software
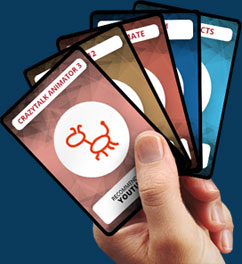
We have a little guide that teaches you how to pick the best animation software for you, but in general, we recommend 3:
- CrazyTalk Animator 3 for those interested becoming YouTubers who create animations quickly with simple characters, or...
- Moho 12 for those interested in taking more time animating to achieve advanced character animation.
- Marionette Studio for those looking for an easy to use animation software at a very affordable price.
You can also follow with Marionette Studio.
Ok, we have our animation software ready. Can we proceed to step 1 now?
Nope! Not only do you need an animation software, but you also need a software to design and create your backgrounds.
So, for this, you also need to pick a:
Drawing Software
You can use any drawing software out there but we recommend 2:
- Photoshop to create backgrounds, or...
- Mischief, to draw, paint and design. This is perfect for advanced artists, with this software you can draw very comfy with an infinite canvas, and you can get this software for free. (If you want to use layers, you can buy the full version for $25 USD).
Great! We have picked our animation software:

CrazyTalk Animator 3 (or Marionette Studio) for the animation, and Photoshop for character and background creation.
“Now can we start with step 1?!”
Yes... jeez, feeling a little bit impatient, aren’t we?
Ok... here it goes.
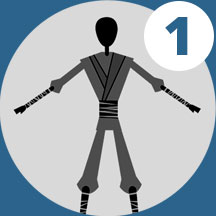
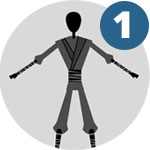
DESIGN A CHARACTER
The first step is designing a character.
How the heck can you do that? What if you suck?
No worries, leave it all to me... Just click on this super cool article on how to draw better by Jen Reviews (length: 35 min).
For this example, I just went to google, searched for Ninja References, and clicked on the images tab to get some ideas.
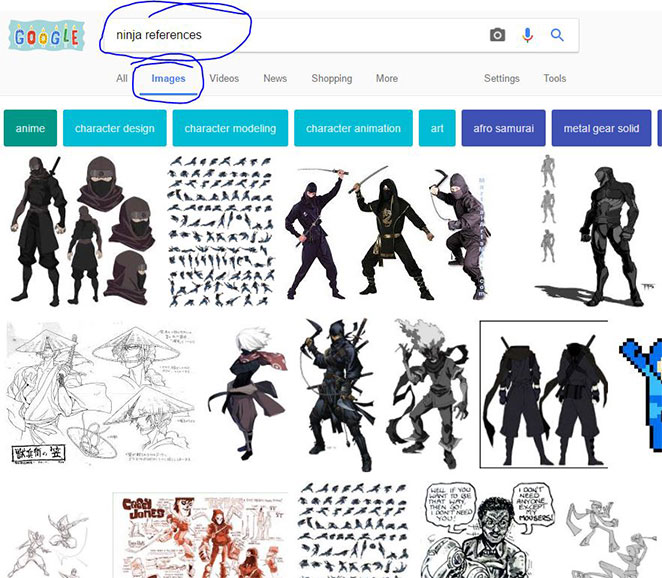
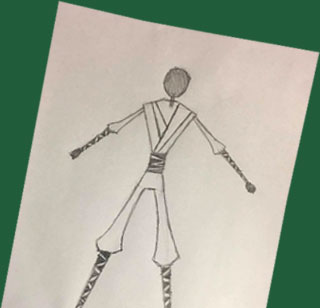
And then came up with my own minimalist design:
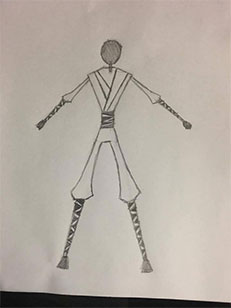
After that, I created the character using shapes inside photoshop:
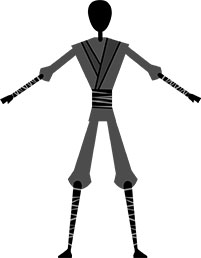
And now, with the character ready, we proceed with...
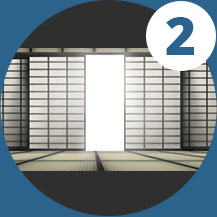
Create a Background
For the background, if you are very good at drawing, you can just sketch a new one from scratch, using 100% original thoughts and create an environment for your scene.
But chances are, you are like me, and you need a little help because you are not an awesome artist (yet!) and you can use some references.
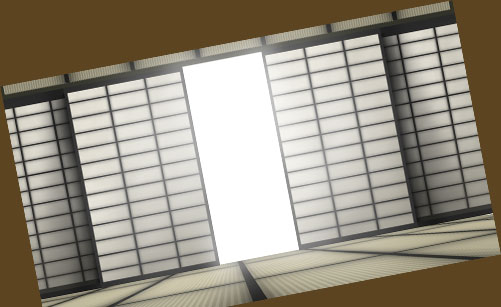
For the background, again, I go to google images and search for Dojo references.
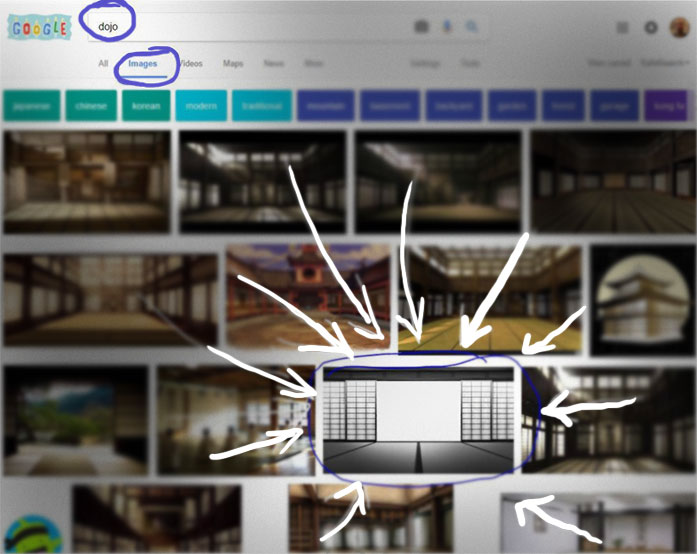
From all the references, the one in black and white catches my eye because it’s easy to create.
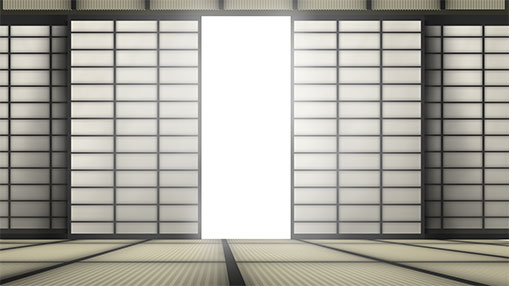
Using the Reference
I create something like that picture and using some of the colors from the other references, and end up with this result:
You probably went like “Whoa, what the heck? How do you do that?”
Don’t worry, I will teach you how to do this background in detail later in this guide, remember, I too struggled with lame tutorials that don’t really teach you how to do this, I am not like that, so I will honor my word... but later, for now just keep reading :)
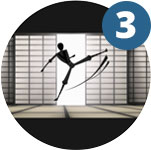
ANIMATE YOUR CHARACTER
After you have your character and background ready, you can proceed with the animation.
Which raises a question...
What do you want to animate?
"The ninja of course." Thank you captain obvious, but I mean, what action?
In this tutorial, I will have my character do some flying kicks.
Now, what if I don’t know how to animate cool kicks?
The following might shock you, grab a seat and take a deep breath.
Ready?
I have a confession... before this tutorial, I’ve never animated kicks before, so how the heck did I managed to get my character to do those awesome flying kicks?
Big mystery... I will reveal the secrets in the second part of this guide and show you how to use the Animankenstein Formula, just keep reading.
Now...
Because I will use CrazyTalk Animator 3, I need to rig my character and prepare it for animation, which I easily do in Photoshop.
Then I import my character and make him do the kicks, and then I am done.
Don’t worry, I already told you, I will not leave you like this, I will cover how to achieve this in detail using the Animankenstein Formula.
Now, after you are done with your animation, you are finished, right?
NO! HECK NO! IT PISSES ME OFF TO HAVE YOU EVEN THINK THAT! (in a good way, I like to be pissed off)
This is the biggest mistake done by most beginners, once you finish animating you think you are done and ready for celebration of your victorious crappy animation.
Chances are, you will need to improve it after you get some feedback.
That’s why we have step 4.
EVALUATION AND FEEDBACK
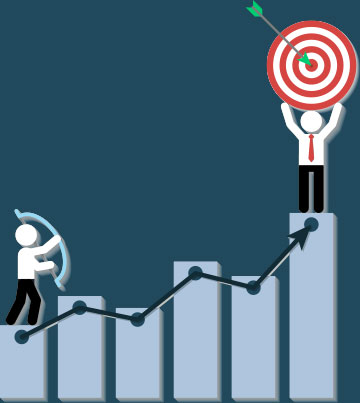
This is by far the step that separates the winners from the losers.
Winners get feedback, keep working and improve. Losers prefer laziness and just choose to think they are awesome when in reality, they suck.

Let me give you the best example of a group with highly talented people who still get feedback from their peers... PIXAR.
They criticize their own work and improve it. No wonder why they started from zero and became a multimillion dollar studio.
So, what do you do in this step?
You show your work to others and preferably to your mentor, if you have one.
This mentor is someone who can give you suggestions to improve it, someone who knows either about graphic design, animation or art.
But in general, you just need at least a second pair of eyes that will tell you that you suck, and maybe even tell you how to improve.
For this example, when I finished the Ninja kicks, there was something about it that I didn’t like. It felt wrong... the problem was the background.
This was my original animation, before creating the final version.
What? You thought I got it right on my first try? And picked the Dojo from the beginning?
Well, you guessed wrong, I did started with the animation situated in China and only after some feedback I went for the Dojo choice.
I am not kidding.
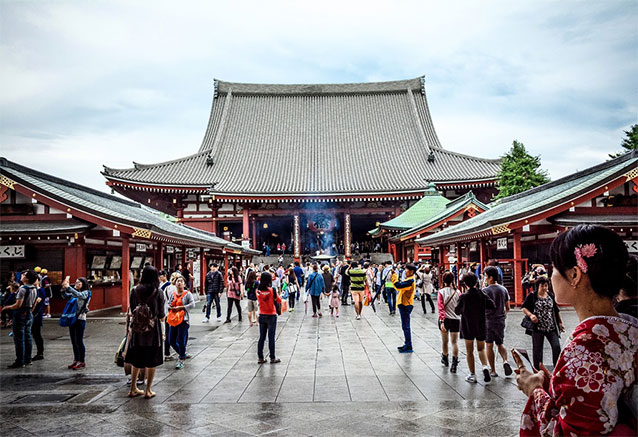
By getting feedback I also learned that Ninjas were covert agents in Japan in the feudal era, not in China, so... I changed my background to be situated in Japan and inside a dojo. (I got rid of a little bit of my ignorance doing this little exercise, so this is cool).
Anyway, the feedback was that the background sucked, the camera angle was wrong, and the character was too small for the animation, being the only one in the shot.
IMPROVE
With this feedback, you can consider if you want to apply the suggestions or not, it’s your choice.
Sometimes you can disagree with the “improvements” people suggest, because you might feel it can worsen your work.
What can you do? Test it.
In my case, the original background was this:
The angle of the camera was wrong, because it was too high, and the picture I choose for the reference, was this one:
So, it turns out that you can make a mistake of choosing the wrong reference image.
Was this mistake my dead sentence?
No! Not at all, it was great because I learned something new!
LESSON LEARNED: I have to be careful when I choose reference images and make sure I pick one with the correct camera angle.
Yes, first I felt frustration because it took me almost 3 hours to create the China image, but I did wanted a better version...
So...
- I could focus my attention on my frustration and my “wasted” time... and just be sad and cry alone...
Or...
- I could focus on the lesson learned and create a new solution.
I decided to focus on my lesson learned and move on.
By the way...
You will learn mini-lessons like this when you are animating, and the only way is:
By getting feedback and improving.
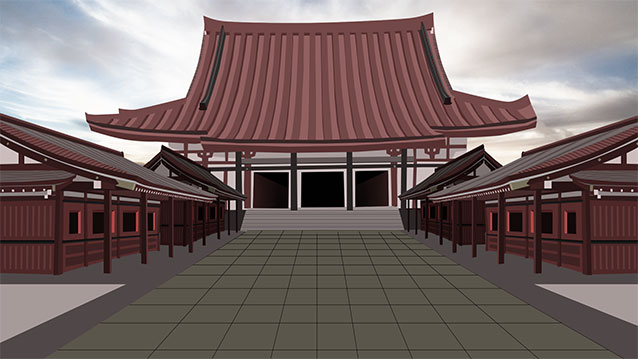
And so, I changed the background and invested 48 minutes to create this Dojo:
It took me less time than the first one, and it turned out to be better.
And then, this was my animation:
REPEAT 4 & 5
Step 6 is about repeating steps 4 and 5 until you die... or until satisfied :)
In my case, I decided to repeat steps 4 and 5 until satisfied, because I was not ready to die yet.
“Until satisfied” is totally optional but I definitely recommend it.
After finishing the 2nd version of my ninja kicks animation, I criticized my own work and decided that I could improve it a bit more.
So, in my research, I checked some anime, and noticed that when characters do powerful moves, the camera shakes a bit:

Which let me to implement some camera movement as well, and got this result:
You might notice that I also added a little dolly in camera movement to make the shot a bit more interesting.
After this version, some feedback I got was that the camera shake was too much, but I liked it, so I just decided to ignore that feedback and keep the camera shake :)
You might also think that the camera is too much, if you do, you just have a poor taste and that’s ok, I still love you.
Great, now you know the overall process to animate your drawings.
THE QUESTION IS: How the heck do you actually do all of this?
Ladies and gentlemen. Fasten your seatbelts. We are about to go deeper.
The answer is, by using the Animankenstein Formula.
If you are a beginner and want to know all the little details on how to accomplish each step, go to the second part of this guide and learn how to apply the Animankenstein Formula.
the
Animankenstein
Formula