HOW TO ANIMATE ANYTHING
the
Animankenstein
Formula

This is the second part of the guide how to animate, if you haven’t checked that one out, read it first and then continue with the detailed process to accomplish the little animation of the ninja kicks.
Contents
Introduction STEP 1: Design a character step 2: create a background step 3: animate your character FINDING YOUR OWN STYLE YOUR TURNIntroduction
Let’s break down the name for this formula.
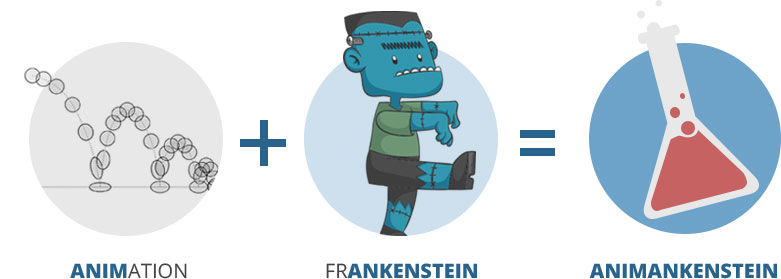
In a story created by Mary Shelley in 1818, Victor Frankenstein is a scientist who is an expert in chemistry and develops a technique to create life with non-living matter.
For this, he uses body parts from several dead people, mix them up and finally bring his creation to life.
(People mistakenly think that Frankenstein is the monster, but this is a misconception, Frankenstein is the name of the scientist and Frankenstein’s monster is the creature everybody talks about during breakfast. Right?).
What does this scientist and his experiments have to do with animation?
Thought you’d never ask.
Let me explain.
The Animankenstein Formula consists of using bits and pieces of different references, put them together, and bring your animation to life, just like Victor Frankenstein did...
But... instead of dead body parts, we will use references; and instead of a lab, we will use a software.
Cool, right? I know!
Let’s see how I applied the Animankenstein Formula to create something I’ve never animated before, which is: Kicks. Martial art kicks.
No! I said MARTIAL ARTS KICK!
That’s more like it :)
Applying the Animankenstein Formula
I will re-visit the 3 main steps of Part one from this guide to illustrate how the formula is applied in detail.
The 3 steps are:
Design a Character
Create a Background
Animate your Character

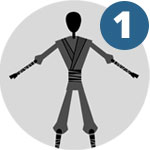
DESIGN A CHARACTER
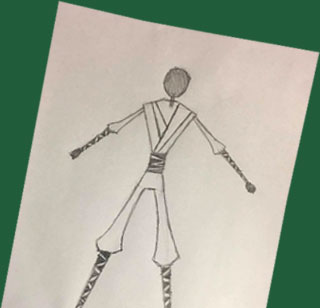
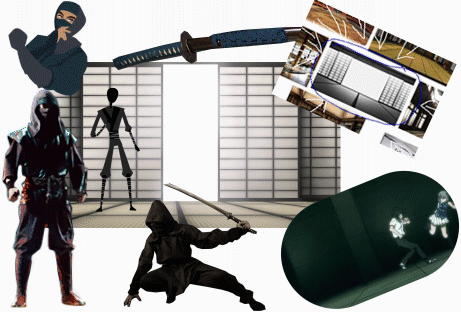
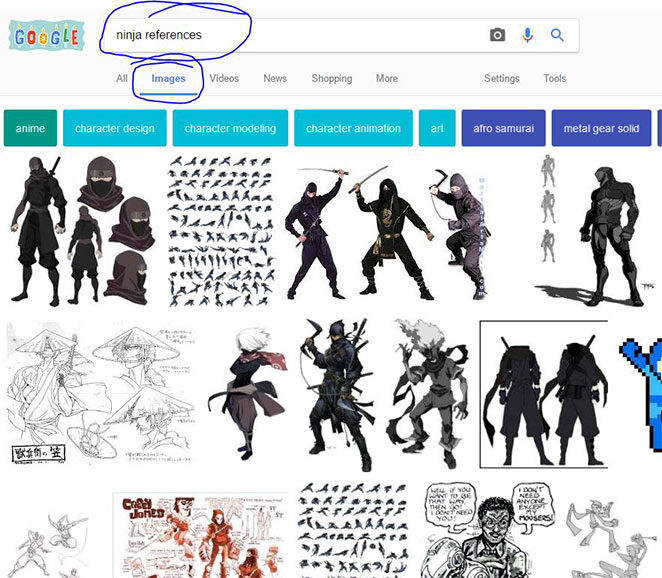
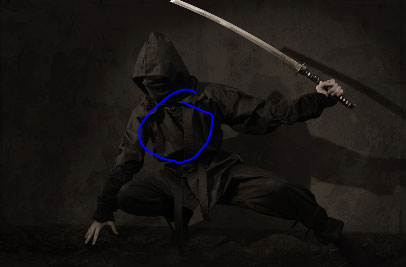
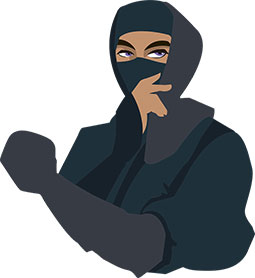
When I designed the Ninja, I just looked for the references on google images
And got from there to here:
I know, I know... this is like the lame tutorials out there.
So, let me redeem myself by explaining a bit further.
The Animankenstein Formula in Character Design
I have some years of practice in drawing, so I just used my intuition to create my ninja. What if you don’t have that experience yet?
Well, here is where the Animankenstein Formula can help.
Let’s create the Ninja from scratch, in detail.
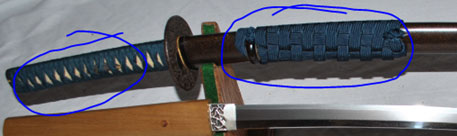
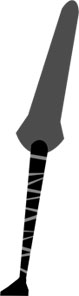
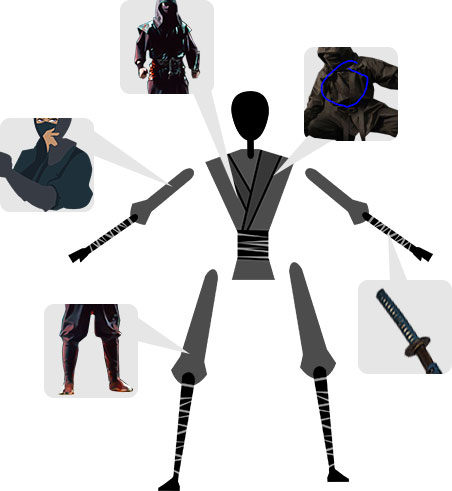
The references we will use for our design are: Ninja Images and a Katana
From this one I get an general idea for the clothing.
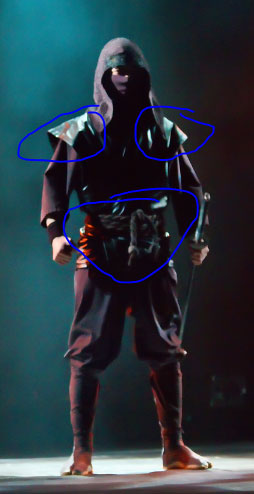
Then, I get some shoulder ideas and something for his waist:
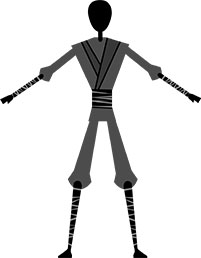
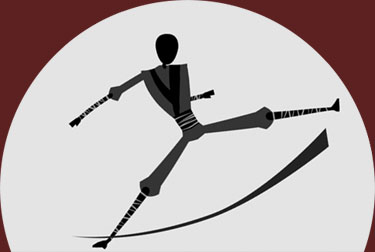
Which led me to create this:
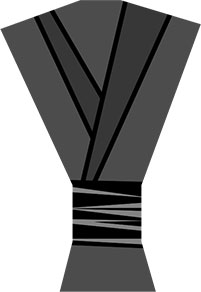
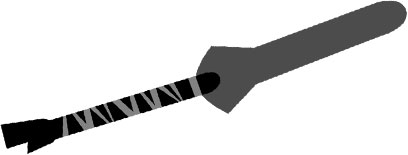
And for the fists... I like this idea, but also, maybe have the forearms wrapped around with some kind of ribbon, like the katana handle:
And so, led me to create something like this:
Then, checking the reference again, I noticed I could do the same with the legs:
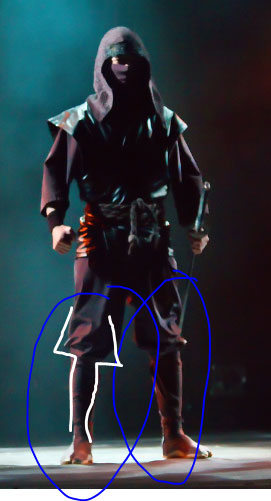
You might notice that in the reference the shanks are slimmer that the legs because of the clothing (marked with white), and so, I came up with this:
Which has almost the same as what I did for the arms, and so, the end-result ended up like this:
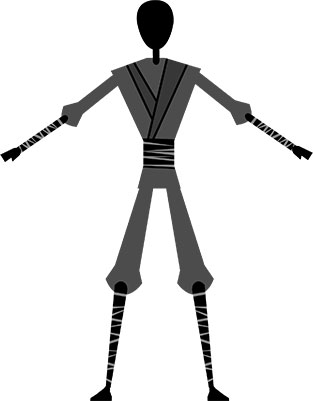
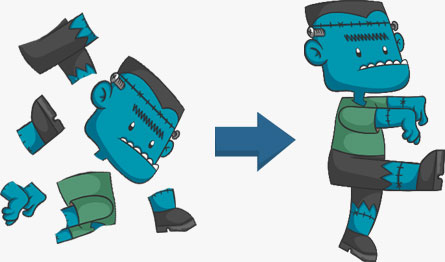
So, as you can see, for this character I mixed several references using the Animankenstein formula to create something new.
This can be also applied for any other process in your animation.
Now, let’s see how to create a background.

BACKGROUND
As I mentioned in part 1, the original animation was going to be with a background of China, which resulted to be a big failure:
Why? Mainly because it was not the correct angle, and the camera was too far from the action.
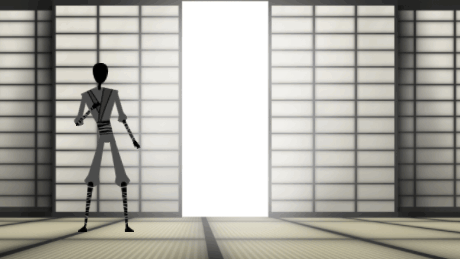
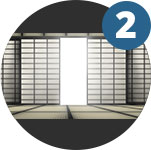
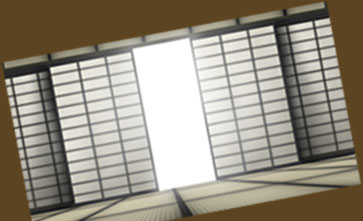
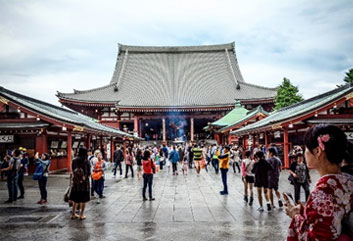
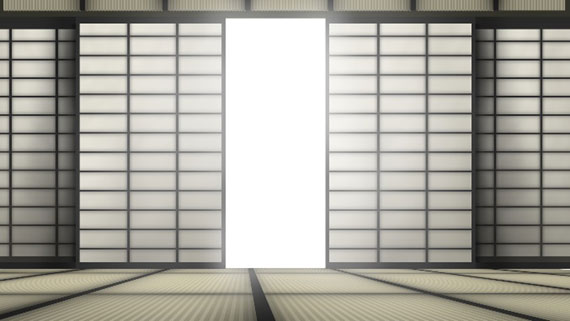
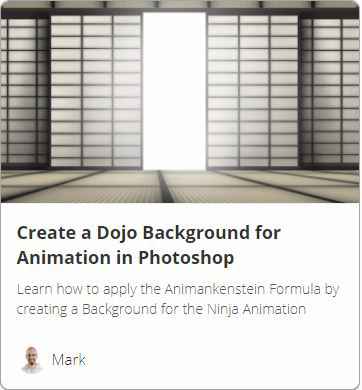
After animating and failing, I came up with the idea of the Ninja training in his Dojo (in Japan, instead of China), so I looked for dojo references and got this one:
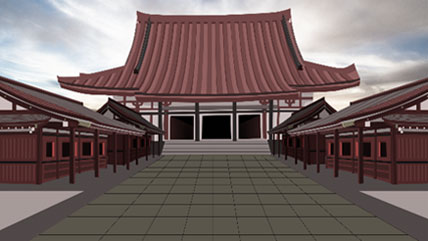
But, from that idea, to the implementation... which results in this image...
...you have to follow many steps, and I want to teach you in detail how to do this.
Here is a video tutorial that covers how I did this in Photoshop.
CREATE A DOJO BACKGROUND IN PHOTOSHOP
If you are a beginner interested in learning how to create this Dojo Step-by-Step, you can get the complete course "Create a Dojo Background for Animation in Photoshop”.
Great, now, we have the Ninja created from different references, then the background created from another reference, and now, we need to add the action kicks for which we will use yet another reference, an animation reference.

ANIMATION
Now, this one is a big one.
The animation.
As I said in part 1, I’ve never animated kicks before, but I knew HOW to do it without years of practice.
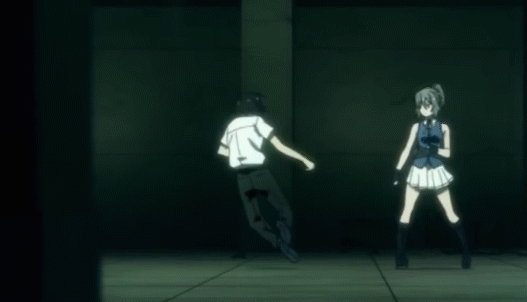
How? By copying the keyframes from a reference animation.
You can go to YouTube, and search for Anime kicks, for my example, after 40 minutes of browsing over the internet, I came across this video, which has many anime fight scenes compiled.
TIP: You can navigate frame-by-frame through a youtube video by pausing the video and pressing the “,” and “.” keys on your keyboard, try it here!
The segment I used for my reference was this one (on min 4:43).
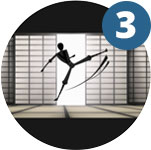
And so, I created a line test, frame by frame, but I completely removed the second kick.
You don’t actually have to do this, but I like to do it to see if I will like the end result or not.
And so, this is my line test:
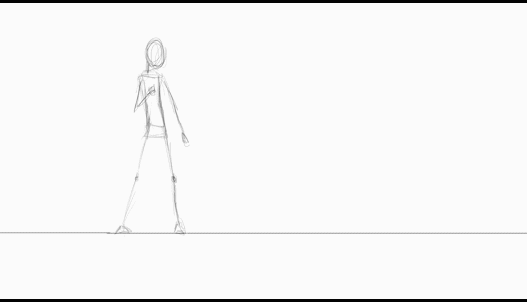
As you can see, I flipped the action.
You will notice that I skipped one kick from the sequence, and went to the flying kick.
The reference shows 2 ground kicks and 1 flying kick, and I only show 1 ground kick and the flying kick.
Anyway, what I did next is that I copied each keyframe, and also copied the distance between keyframes.
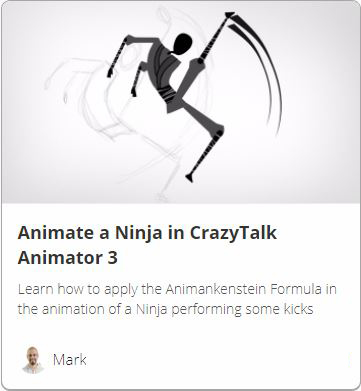
To learn how to do this in CrazyTalk Animator 3, check this tutorial
ANIMATE A NINJA IN CRAZYTALK ANIMATOR 3
If you are interested in the complete course you can get it here: "Animate a Ninja in CrazyTalk Animator 3”.
And there you go, you now know how to animate using the Animankenstein Formula.
In my case I used action from anime, the background from a Dojo reference, and the character from multiple ninjas, put them all together and make the animation come to life.
I used this for the action of the kicks.
Now, what if you want to learn how to animate fire?
Well, just check a reference of fire on YouTube and copy each drawing frame by frame, and you will have your fire :)
Once you do it, you will see that it’s actually easier than you think it is.
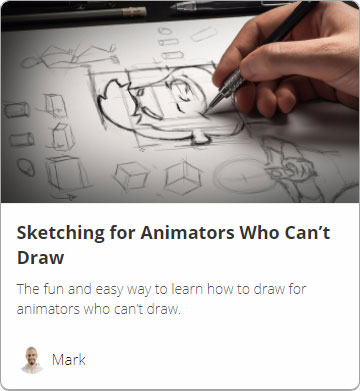
Of course, it’s way easier when you have decent drawing skills. If you have none, you can check our course "Sketching for Animators who can’t draw”.
About Not Being Original
Now, all of this might raise some questions in all the haters and smarty pants around you, who will start criticizing you for “not being original”.
Just as some friends and family have criticized my work. Just be patient, they don’t realize you are still in a learning process.
You will get phrases like: “It looks good, but you need to find your own style”.

I did some research and here is what I found, which you can also use in your defense :)

Finding your own style
This is definitely important, because it’s what will distinguish your work from everybody else’s, but do you have to find your style as soon as you start?
The quick answer is, NO!
You do have to find your own style, but not as soon as you start, first you need to acquire the necessary skills and master them; before experimenting and creating your own style.

What? Master skills before experimenting?
YES!
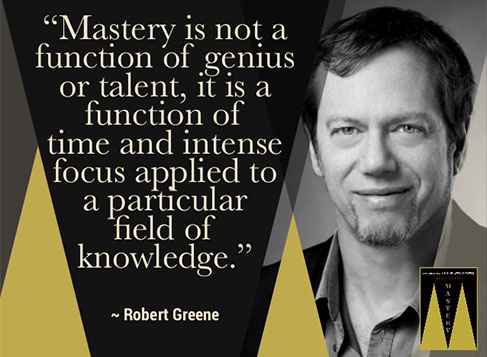
Let’s see what Robert Greene, the author of the book Mastery has to say about this.
In his book, he talks about the apprenticeship process, and for this guide I decided to translate the process into something applicable in the animation apprenticeship phase... here it is:
The 3 steps of apprenticeship in Animation
Deep
Observation
Passive Mode

Skills
Acquisition
Practice Mode
Experiment
Active Mode

1. DEEP OBSERVATION
PASSIVE MODE
The passive mode is the one that most people neglect to apply. This is where you learn by observation.
In the context of learning animation by yourself (with online resources, tutorials, books and courses), this is the moment when you are learning passively.
It’s when you learn techniques without applying anything, it is exactly what you are doing right now reading this tutorial and watching my examples.
This is the passive mode. It’s essential, and you need it before you can start practicing anything.
So, this is good, you are in the 1st step of apprenticeship, the deep observation, the passive mode.
After you deeply understand the concepts, for which you sometimes need to review the material 2 or 3 times to really understand it clearly, you can move on to...

2. Skills Acquisition
PRACTICE MODE
This step is where you start playing with the concepts you learned and put them into practice, this is when you take action.
When you actually choose a software, buy it, download it and install it, and then, you create your character and background, then open YouTube, look for action references and actually start animating, that is... moving your mouse, clicking here and there and making this happen in your computer.
This is the active mode. You start taking action and doing the things you learned.
And in this step, this step right here, the Practice Mode, is where you cheat by using the Animankenstein Formula, the one people criticize when you are not being original.
They urge you to find your own style but you must understand that it is too early for that, you first need to accumulate enough practice until you can keep going on your own.
Only until you stop needing references, when you stop needing the Animankenstein Formula, can you start with step 3, which is the experimentation phase.
Think of the Animankenstein Formula as the training wheels of your bike when you are first learning, at one point, you remove them and you can drive the bike easily without them.
When you are in this stage, you can start with...
3. EXPERIMENTATION
ACTIVE MODE
To get to this step, you might need to invest 2-3 years or even 5-7 years of rigurous practice until you can get to experiment with techniques and start breaking the rules.
What do I mean by breaking the rules? Well, to forget what you have learned and start doing what your impulses tell you, which by now, they are not impulses because they have evolved to something called intuition.
Intuition can only be achieved after mastering a technique and following the rules for years.
In your little experiments with design and animation, you can break the rules and see your results.
Do you like your results? Do you hate them? Then try again and keep doing it until you achieve something you really love and feel proud of.
The experimentation phase is what Robert Green calls the Creative Active mode, when you start implementing your ideas and finally, finding your own style.
Of course, I am adding all this extra information just in case you want to become a professional animator.
Let me put it this way:
When you are very good in practice mode, you can start earning money with your animation work.


And when you successfully reach the Creative Active mode, you can earn thousands and even hundreds of thousands of dollars for your work. Why?
Because no one can do what you are doing, your style is unique and when people want that specific style, they can only hire you :)
NOW IT’S YOUR TURN
Now it’s time for you pass on these ideas to someone else who can benefit from them.
And its also time for you to start practicing what you learned in this guide and share your efforts below :)
This way, you will get feedback from me, or other fellow visitors and students, and you will also inspire other people.
Time to share your work, thoughts and animated ideas.
Leave a quick comment below right now and let me know what you think ;D